
Staining Hardwood Floors
When remodeling, refinishing floors can have a big impact on the overall look and feel of home. I often create a custom color for flooring in projects to get the color mix juuuust right across all materials.
A custom color is formulated to closely (or exactly) match a certain color, and requires a few more steps to apply to a floor, when compared to a ready made color.
Below, a custom formula is applied to a sample wood swatch through a wire brushing technique. My goal was to develop a formula to match the larger swatch that sits beneath the narrow rectangular piece, and was thrilled we managed to get it to match very closely!

A wire brushing technique helps the stain absorb evenly across the grain. You can see the grain in the wood is more visible on the other swatches where the wire brushing technique was not performed.

Custom stain applied to the hardwood floor (at left); Pre-Made color (right)
When choosing a color, take into account the other wood tones in the space, those that are a part of furnishings and also any material elements attached to the structural of the home. Examples would be the wood tone of a coffee table, a fireplace mantel, or exposed beams. You’ll want to make sure the tones either contrast each other (light vs. dark) or closely match.
It also helps to make up a custom sample to apply to a small section of floor, then look at it in natural light at different times of day. Similar to paint, the tone and color of the floor can change as light changes during the day.

Where we started: Hardwood Floors (Original State, Pre-Sanding)
Mid-Way Through: Freshly Sanded Floors (Pre-Stain)

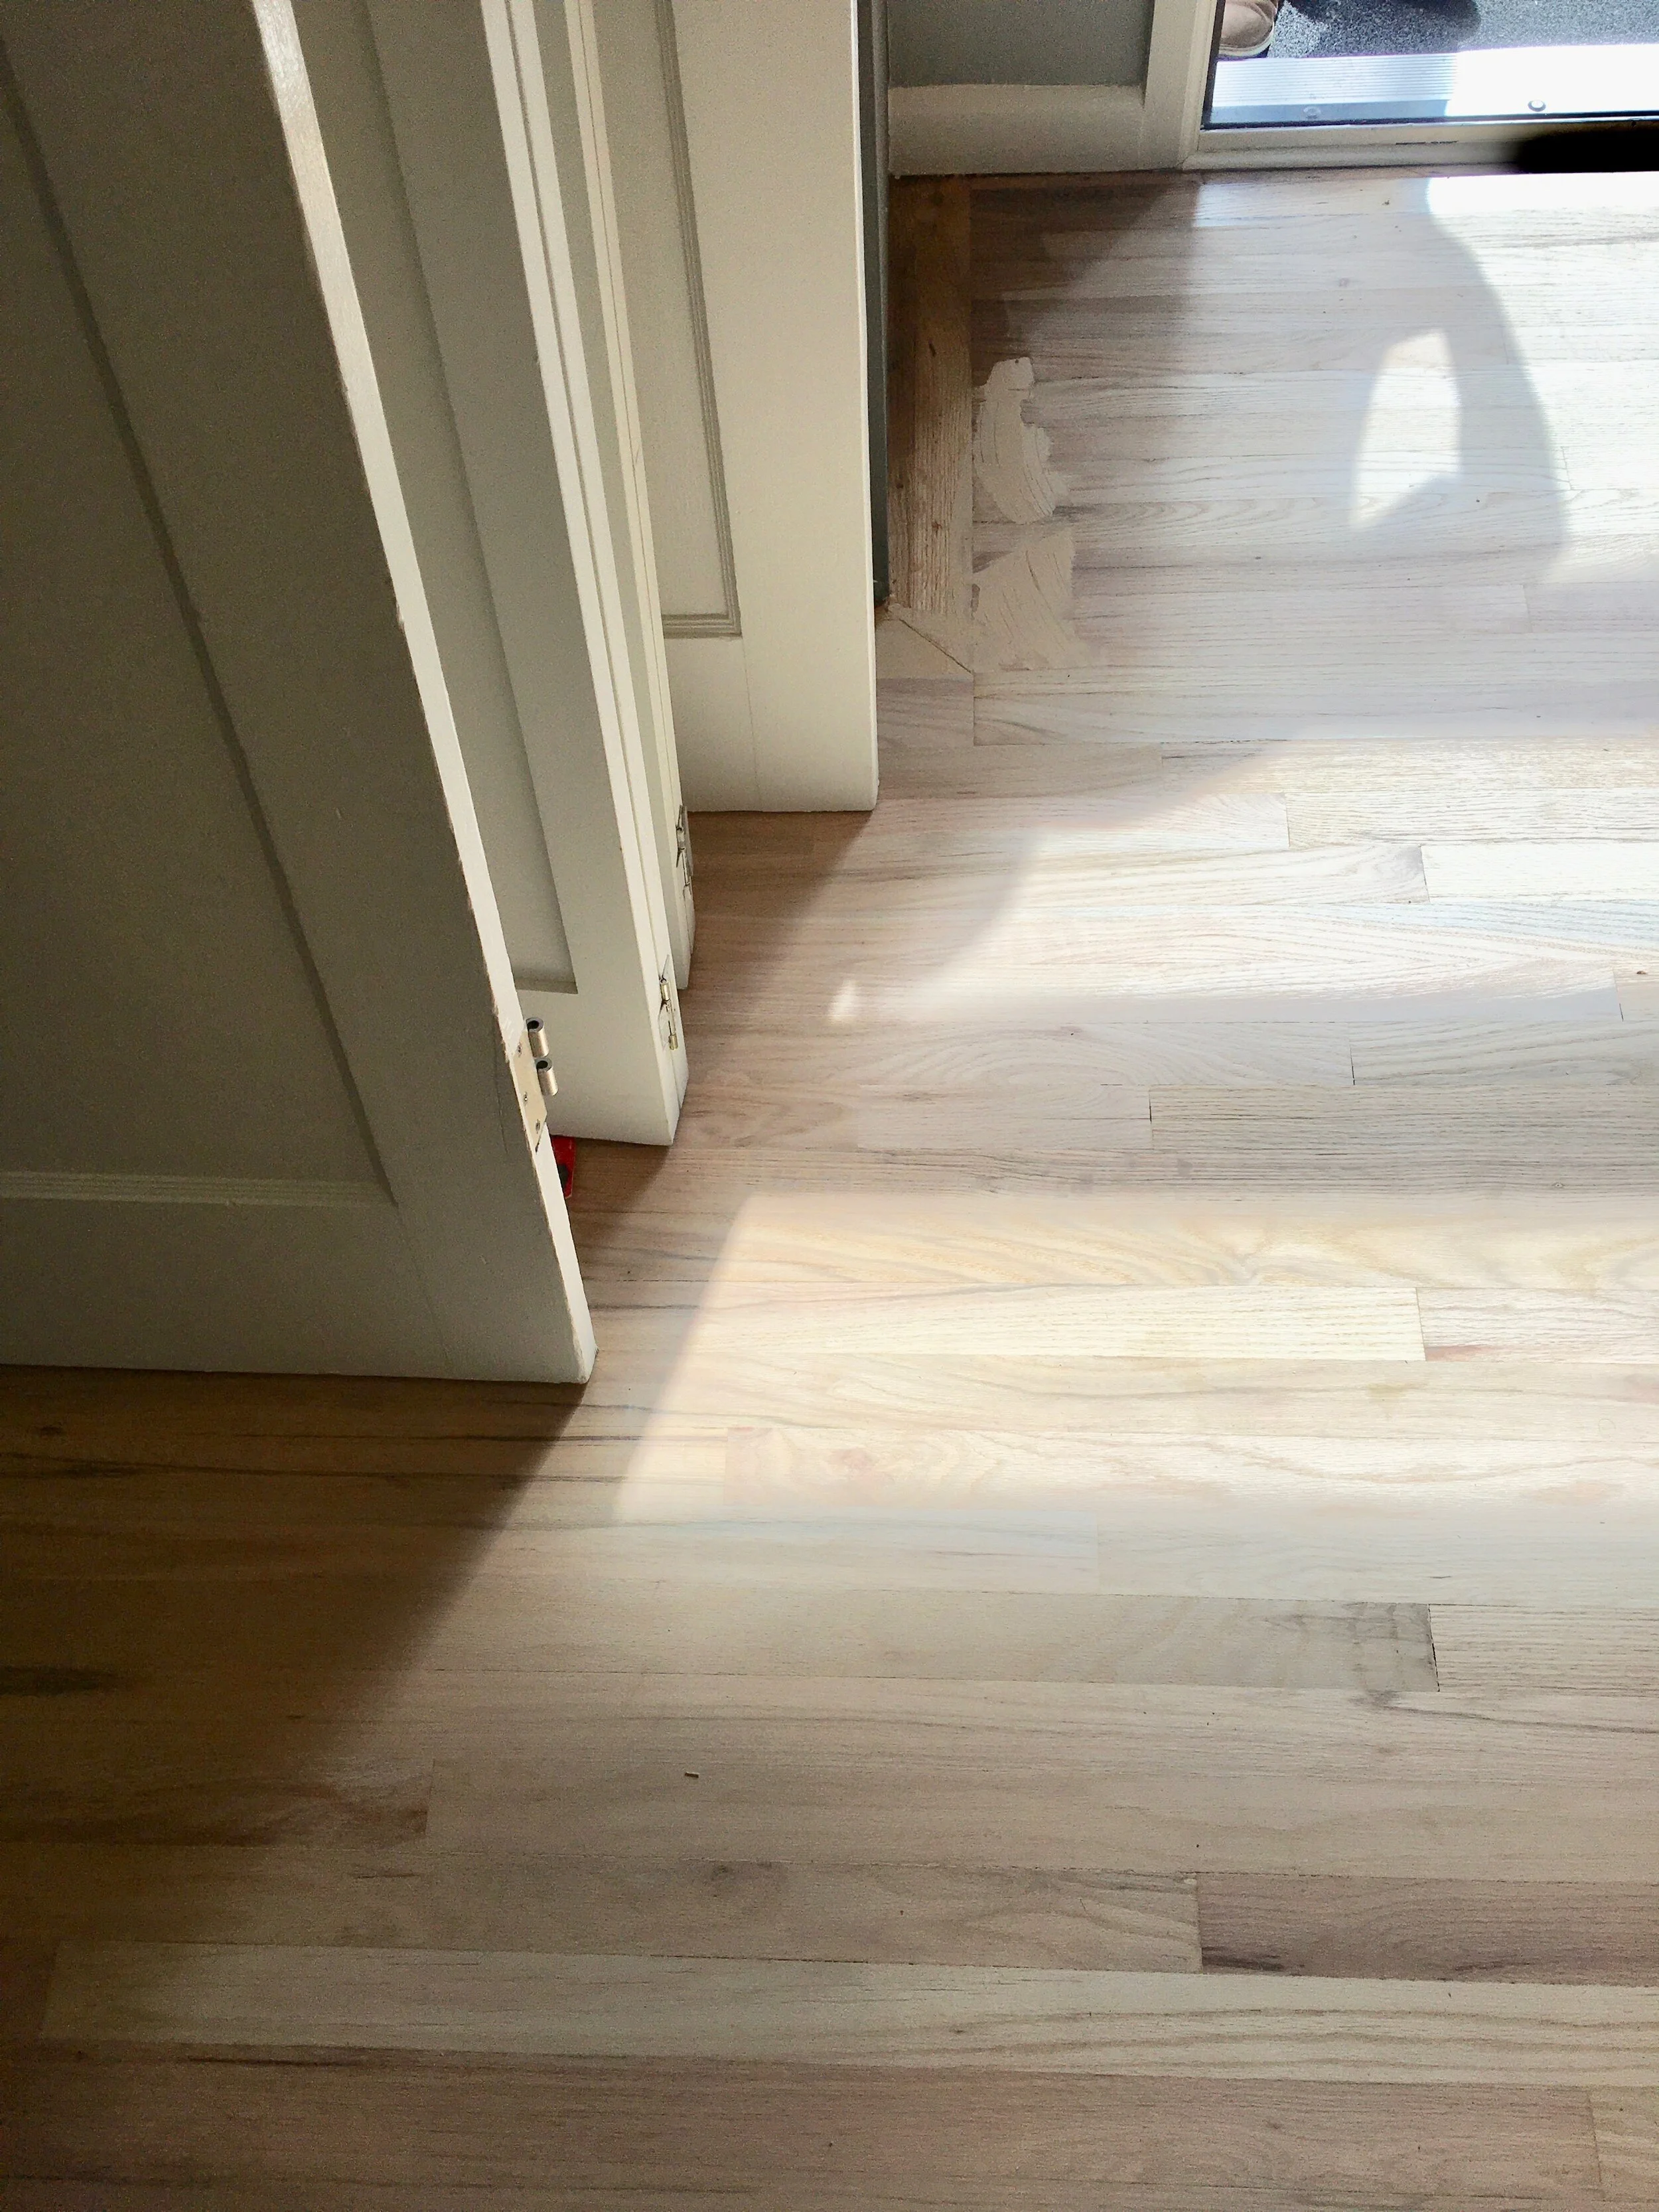
Where we Landed: Custom Stain (Left); Pre-Made Stain (Right). We ran with the custom color!
The photos above show the difference between the floor in their original state, mid-way through, and in their testing state. At far left, red oak hardwood before any stain was applied. In the middle, freshly sanded floors pre-stain application. At right, custom and pre-made stain swatches applied to the floor. In addition to changing the color of the floor, we also changed the sheen, or the amount of shine in the floor’s finish. We opted to go from a glossy to matte finish for more timeless appeal.
In selecting a color, my goal was to eliminate the reddish-orange undertone in the original red oak and transition to a color with warm undertone, without being too golden. Achieving that balance took a number of tries to get just right but I’m so happy with where the final color landed. We opted to run with the custom stain at right above. I love the slight variation in tone between planks to add a touch of character and charm, and the appearance of the grain for texture.
Why is helps to use a custom color:
Elevates the overall look and feel of a home
Allows you to effectively and more precisely match and/or coordinate wood tones across a home.

Above, the custom stain being applied to the sanded floors. For those familiar with this project, we also painted the walls white (not reflected in the picture above) to open up the space.
Have you used custom or pre-made stain colors in your home, or is it something you’re thinking about? Let us know!